How to Build a HTML Form that sends data to a Sheet
By Nihey Takizawa published on
Building HTML forms is quite easy, nowadays you can even ask Chat GPT to generate and even style your forms for you. But one question that may arrive when building a HTML form is: Where should I send my data?
Sheets can be a good way to send your data, it is really easy to setup, anyone knows how to use it, and the data can be exported easily.
Today we'll build a form and show you to integrate it with your Sheet.
For this tutorial, we'll use Sheet API HTML, a tool that lets you integrate Sheet API straight into HTML.
Step 1 - Generating your Sheet API URL
Make your sheet into an API, this API will be called when the form is submitted, this way submissions will go straight into the sheet.
- Log in to Sheet API
- Click the Add Sheet button and insert your sheet to Sheet API
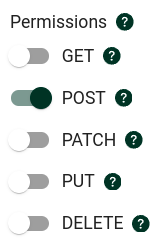
- As you'll only use POST requests, we recommend only enabling the POST request type
- Copy the link to your Sheet, you'll use it in the next step
Step 2 - Building the form
To build your form from scratch, we recommend using an AI Tool like ChatGPT.
We'll make one with the following prompt:
Make sure that you replace the style library, fields, and other instructions to your specific needs
1Make me a HTML Form using the <your style library> framework with a submit button and the following fields:
2
3- Name
4- Email
5- <other fields you would like>
6
7It must have these exact names on the inputs (case sensitive)
8
9It must be stylized and enclosed in a card
10<Other instruction you might have>
11
12The form tag should have the following HTML attributes:
13
14- data-sheet-api-url="<Your sheet API URL>"
15- data-loading-msg="Loading..."
16- data-success-msg="Thank you! We have received your registration"
17- data-error-msg="Your submission failed, please try again later"
18
19You must add two <span> tags at the side or below the submit button with the
20classes: "sheet-api-success-container" and "sheet-api-error-container".
21
22It must also load the script tag: <script src="https://unpkg.com/@sheet-api/html"></script>
23
If you followed this step with AI, you can go straight to the Next Step.
If you wish to go old school, ensure you have your HTML code set-up. For this first code, we'll use this already created HTML form:
1<div class="container">
2  <div class="card">
3    <div class="card-body">
4      <h5 class="card-title">Form</h5>
5      <!-- Bootstrap Form -->
6      <form>
7        <div class="mb-3">
8          <label for="name" class="form-label">Name</label>
9          <input type="text" class="form-control" name="Name" placeholder="Enter your name" required>
10        </div>
11        <div class="mb-3">
12          <label for="email" class="form-label">Email address</label>
13          <input type="email" class="form-control" name="Email" placeholder="Enter your email" required>
14        </div>
15        <button type="submit" class="btn btn-primary">Submit</button>
16      </form>
17    </div>
18  </div>
19</div>
20
Step 3 - Integrating the form with the Sheet
If you followed the AI Step, you'll have everything setup and can go to the demo at at end of the tutorial.
If you went old school, we'll now need to integrate the HTML Form with the sheet. To make this you'll need to:
- Add the attribute
. In the example we'll usedata-sheet-api-url="<your Sheet API URL here>"data-sheet-api-url="https://api.sheetapi.rest/api/v1/sheet/g5e09XKtRZ4OaydVCSSeK" - Add the script
<script src="https://unpkg.com/@sheet-api/html"></script>- This will ensure your submissions will automatically be sent to Sheet API and you'll be able to control loading and success messages
- To add a loading message add
attribute to the formdata-loading-msg="<your message>" - To add a success message:
- Add
to your formdata-success-msg="<your message>" - Then add
to where your success message should appear<span class="sheet-api-success-container"></span>
- Add
- To add a error message:
- Add
to your formdata-error-msg="<your message>" - Then add
to where your error message should appear<span class="sheet-api-error-container"></span>
- Add
- To add a loading message add
- This will ensure your submissions will automatically be sent to Sheet API and you'll be able to control loading and success messages
1<div class="card">
2  <div class="card-body">
3    <h5 class="card-title">Form</h5>
4    <form
5      data-sheet-api-url="https://api.sheetapi.rest/api/v1/sheet/g5e09XKtRZ4OaydVCSSeK"
6      data-loading-msg="Loading..."
7      data-success-msg="Thank you! We have received your registration"
8      data-error-msg="Your submission failed, please try again later"
9    >
10      <div class="mb-3">
11        <label for="name" class="form-label">Name</label>
12        <input type="text" class="form-control" name="Name" placeholder="Enter your name" required />
13      </div>
14      <div class="mb-3">
15        <label for="email" class="form-label">Email address</label>
16        <input type="email" class="form-control" name="Email" placeholder="Enter your email" required />
17      </div>
18      <button type="submit" class="btn btn-primary">Submit</button>
19      <span class="sheet-api-success-container"></span>
20      <span class="sheet-api-error-container"></span>
21    </form>
22  </div>
23</div>
24<script src="https://unpkg.com/@sheet-api/html"></script>
25
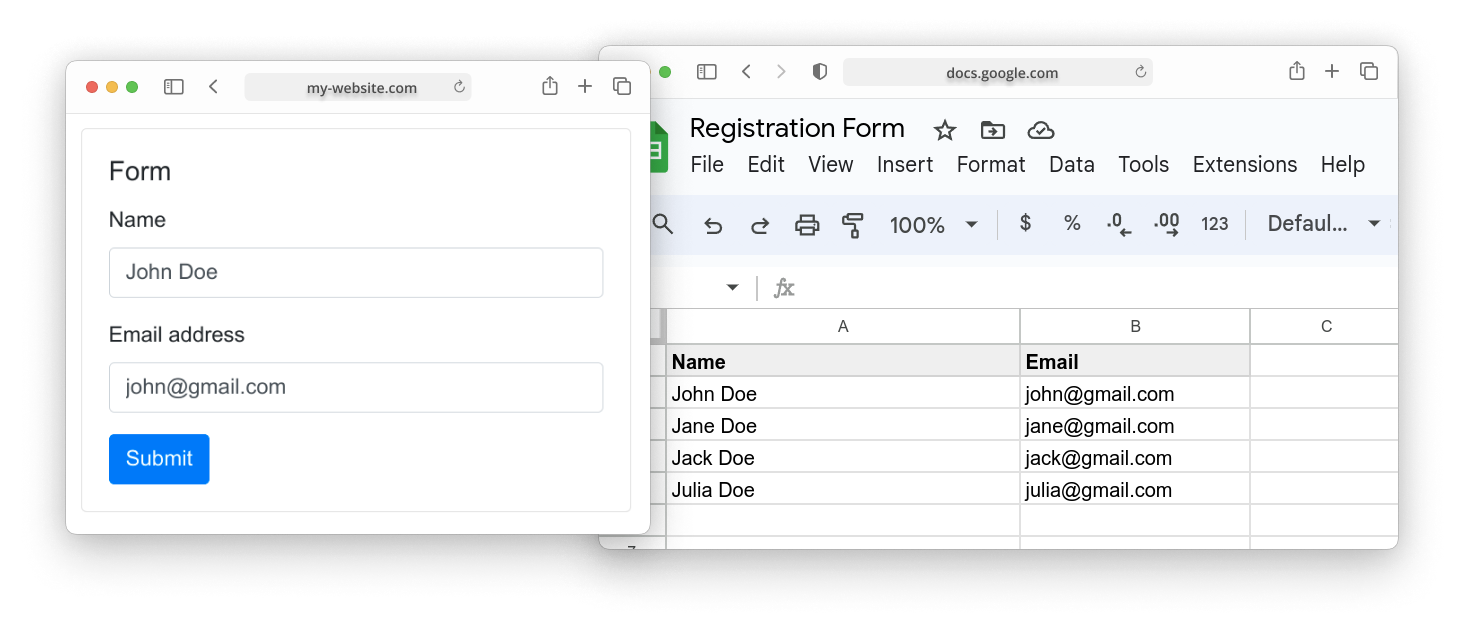
A finished example of this form can be found below (you can live test it):
Form
You can see the rows being inserted in the sheet below or at this link.